Resize disk for Ubuntu Hyper-V Quick Create image

After installing Ubuntu 18.04 LTS through Hyper-V Quick Create gallery, I quickly ran into an issue of the out-of-disk-space nature. This is because the default root partition size of that image is 11Gb regardless if you expand the VM disk in Hyper-V.
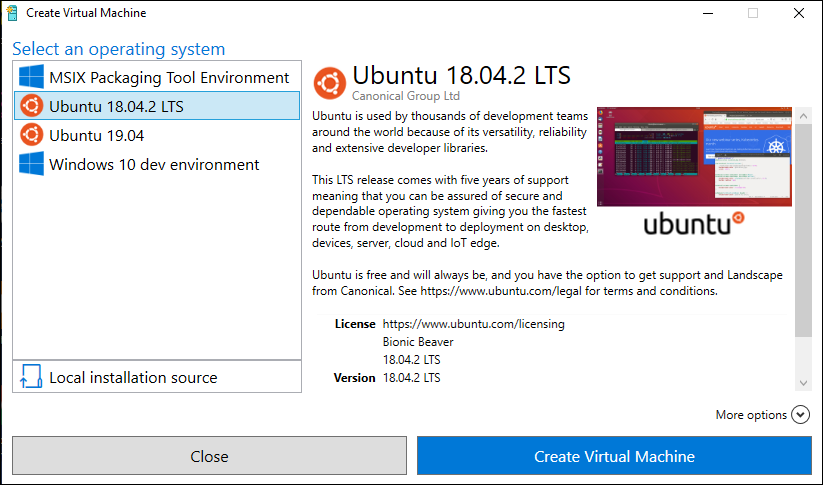
Why install Ubuntu 18.04 LTS through Quick Create? Why, to get enhanced mode, of course. Scott Hanselman explains why this is good here.
Extending the VM disk
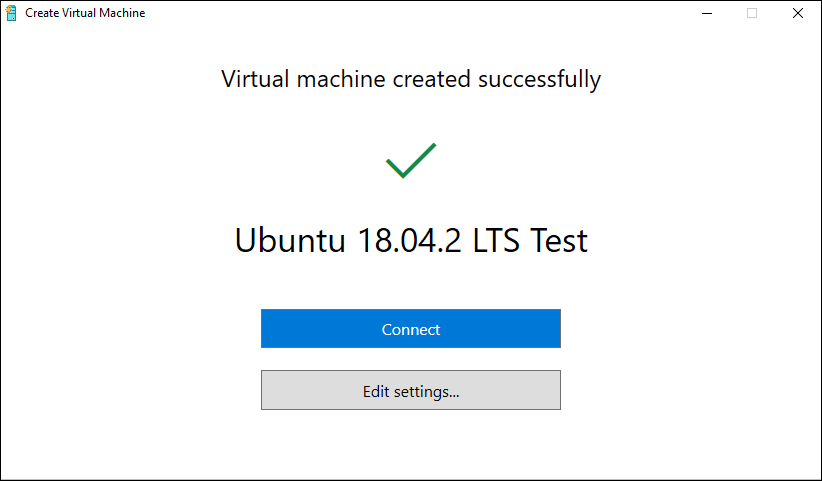
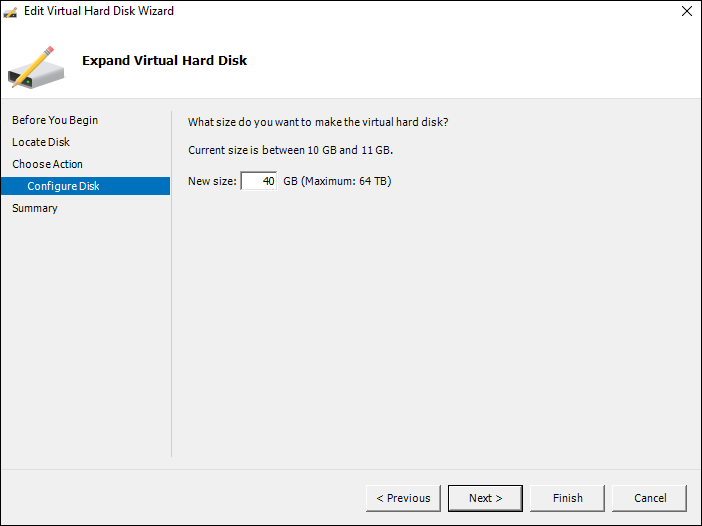
Once created. click on Edit settings before starting the VM.
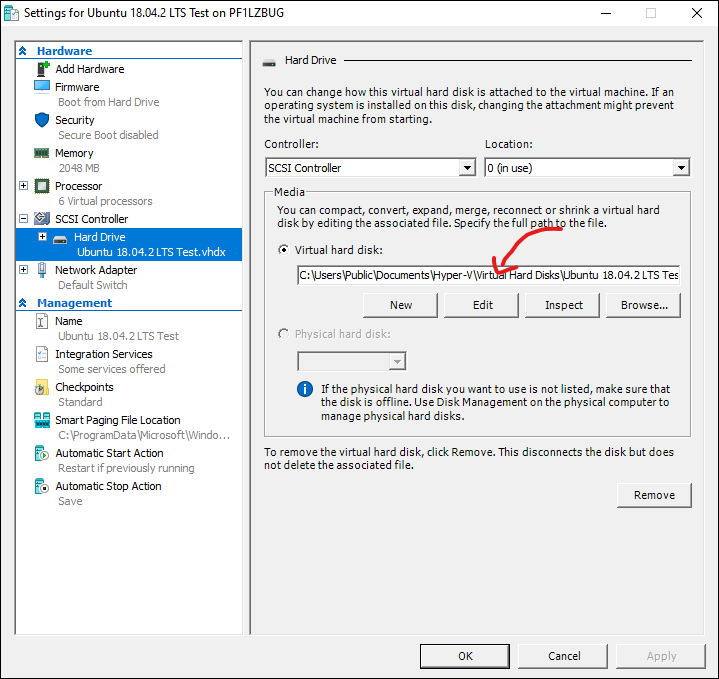
Then find the hard drive and expand the size. Feel free to set your own size - its a free world :)

Next, start the VM and connect to complete the Ubuntu setup.
Once booted, we can see that our disk is still 11Gb
Filesystem      Size  Used Avail Use% Mounted on
/dev/sda1        11G  4,7G  5,8G  45% /
Then, we try to resize the partition.
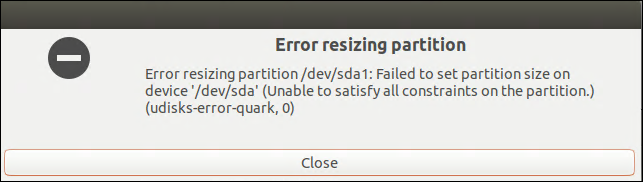
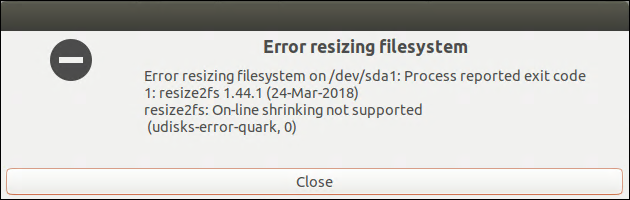
Attempt 1 - Resize using Ubuntu's Disks utility - FAIL
Using the Ubuntu Disks utility quickly fails with various errors - basically, it doesn't like to resize while the partition is online and you can't really unmount the root partition.

Attempt 2 - Resize using gparted - FAIL
Next, we'll try resizing the partition before boot using the gparted live iso.
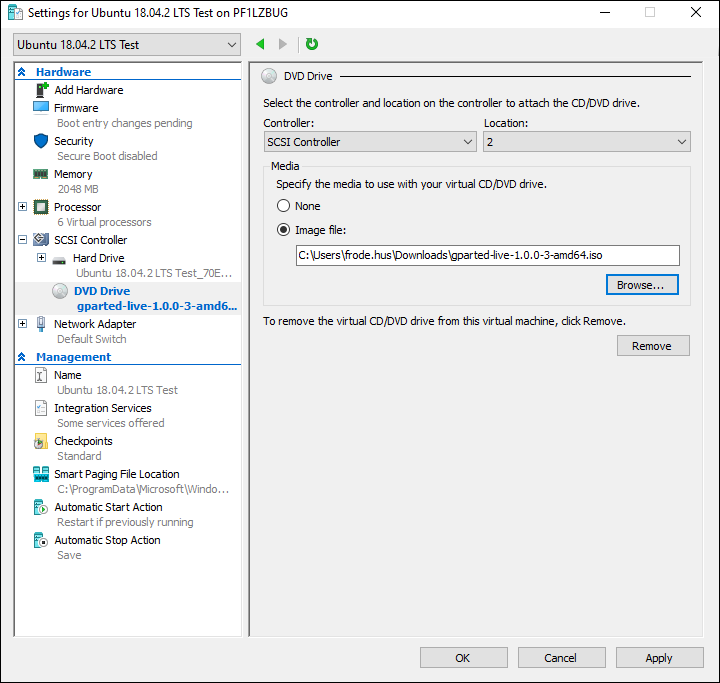
We must first add a DVD drive to our VM and mount the iso once downloaded.
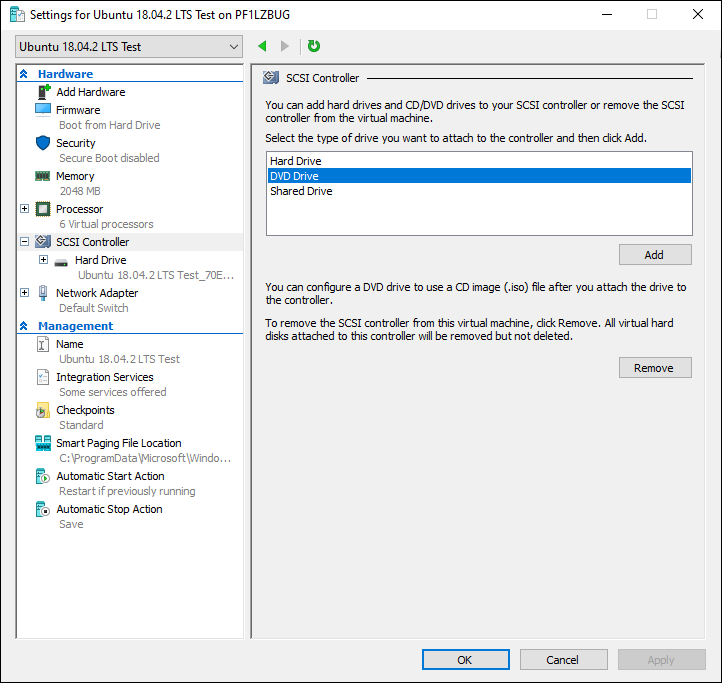
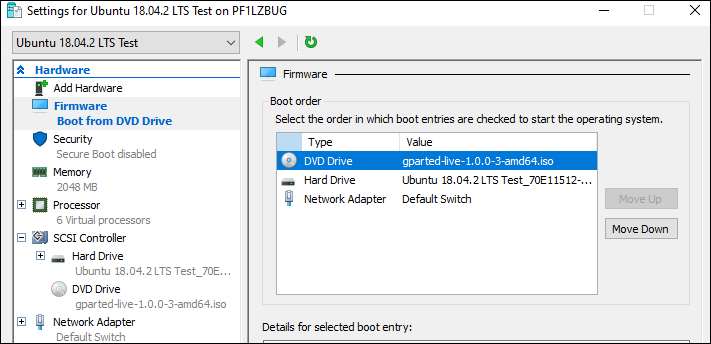
Also, remember to set the boot order so our DVD drive boots first.
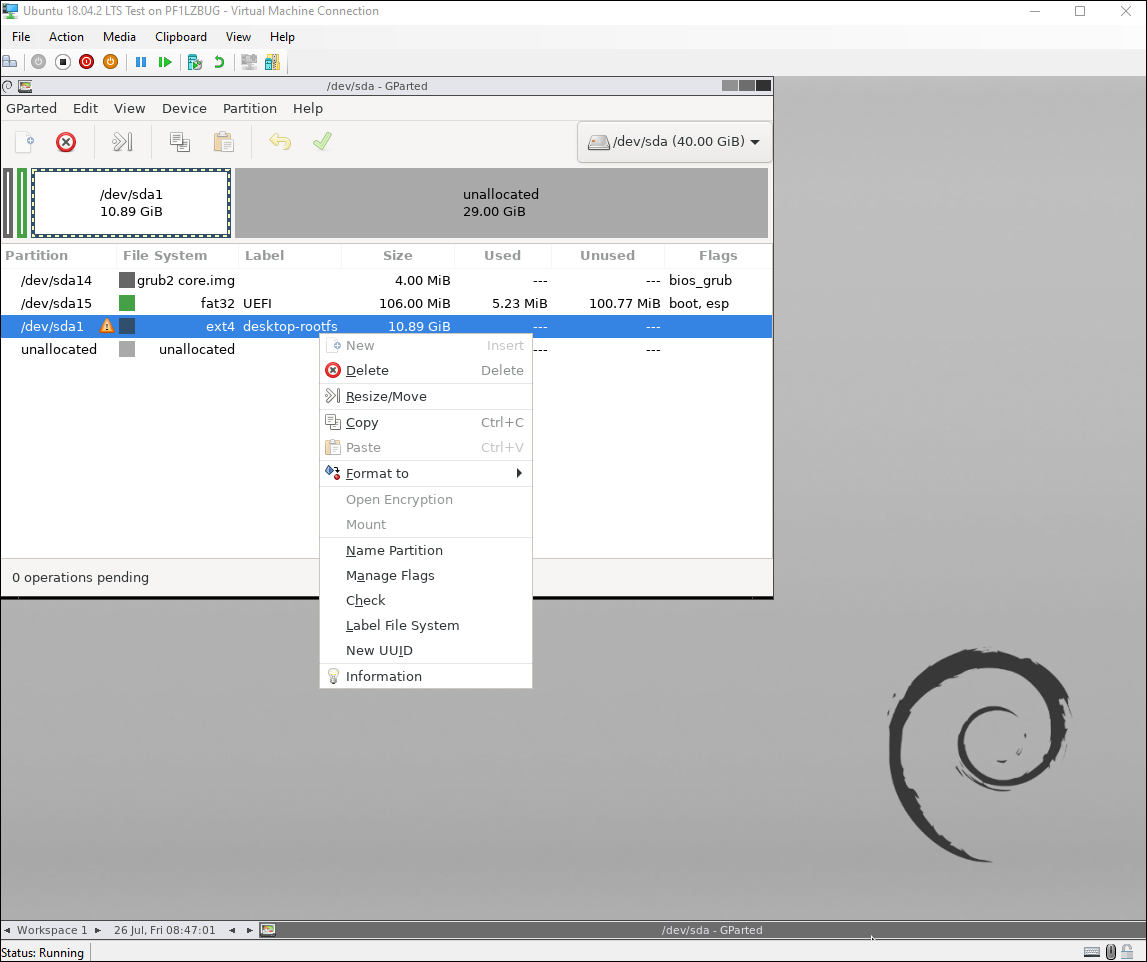
We then start the VM and are booted into gparted.
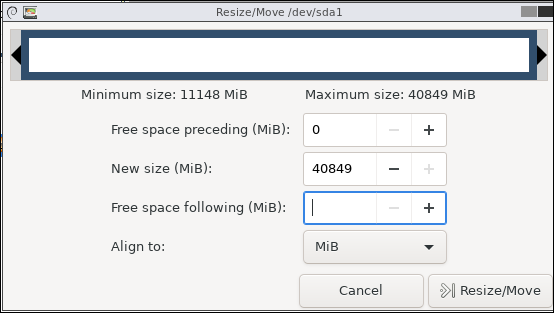
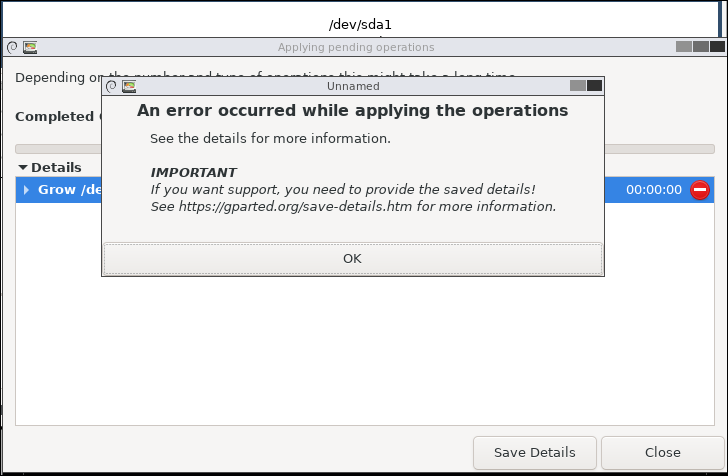
When trying to resize now, we still get errors - I think this has to do with Hyper-V's checkpoints, but feel free to correct me on this.
Attempt 3 - Resize using gparted before first start - SUCCESS
So, let's see if we have better luck if we resize the partition before the initial setup.
Once you've created your Ubuntu VM using Quick Create and see this:
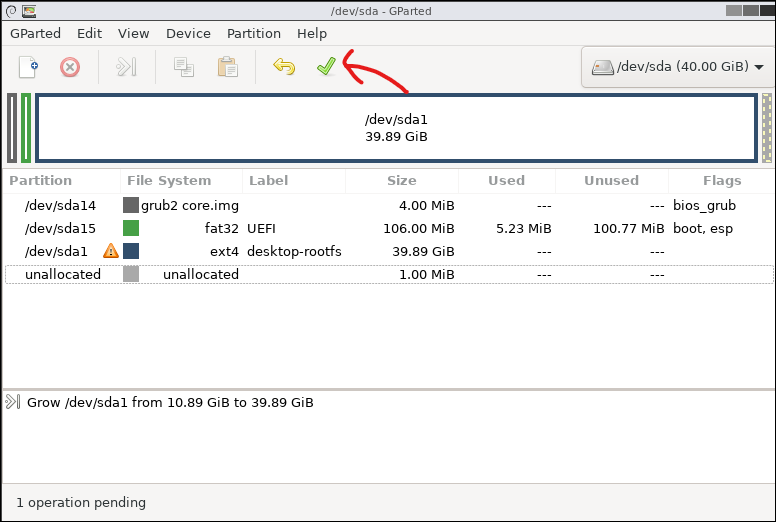
Expand the disk and then perform the same operations as in attempt 2 before starting the VM and completing the Ubuntu setup.
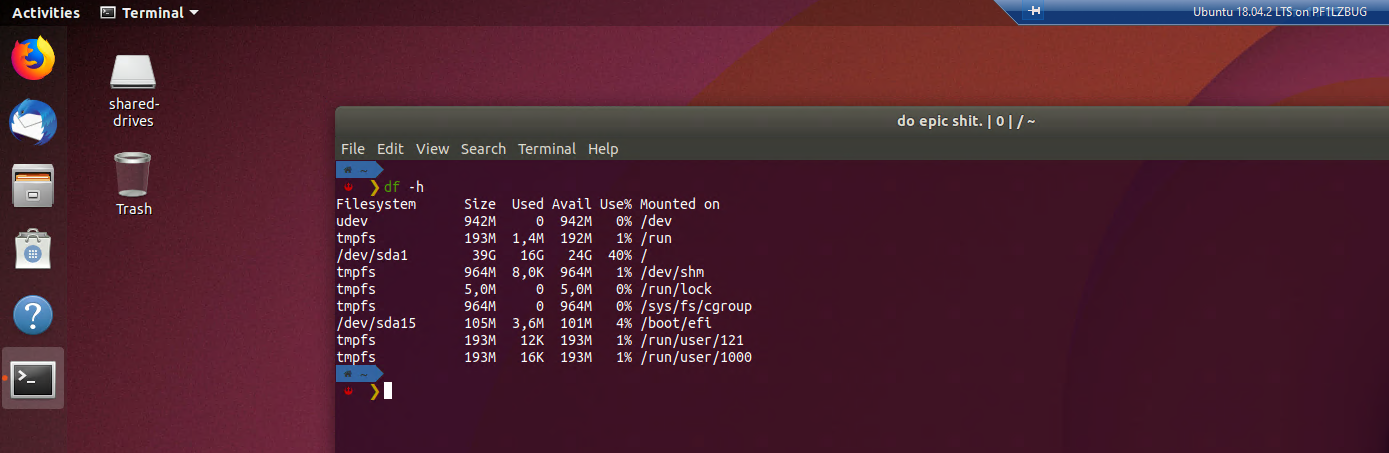
Now, when you boot up you will see that we finally have our disk resized.
Filesystem      Size  Used Avail Use% Mounted on
/dev/sda1        39G   16G   24G  40% /
Success!